


Making the main beams for the W17 — Part 2
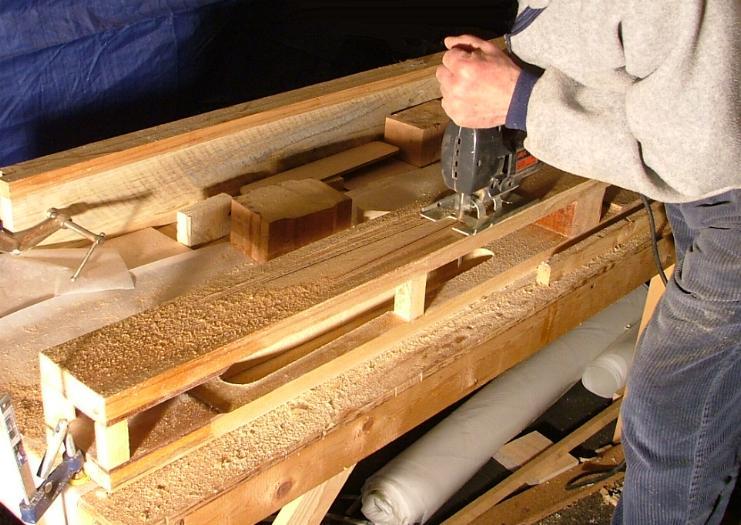
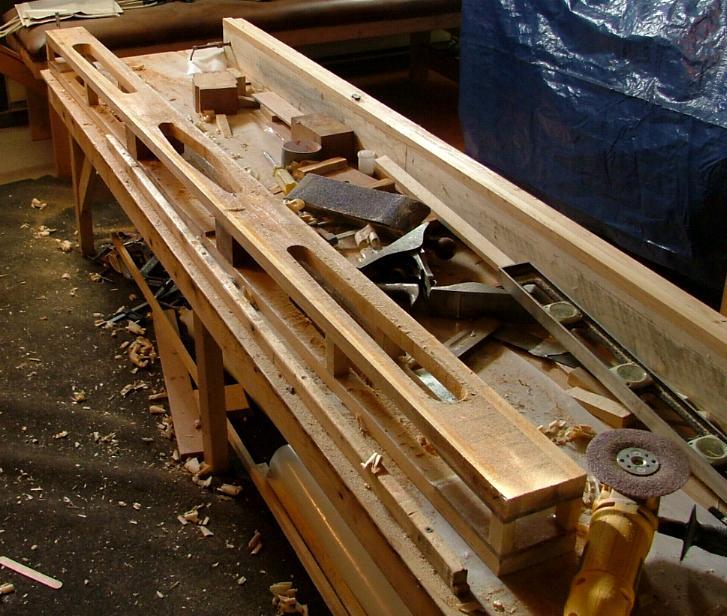
At the end of Part 1, the core of the beam was assembled and the side panels pre-sheathed with bias cloth. But before adding them, we need to cut out some areas of the core that would be over strength, in order to save some weight (about 1 kg per beam).
As cutting this wood down grain is not so easy with a jigsaw, you'll need a sharp, 'fast cut' blade and I can recommend the Bosch #144D as a good example (5–6 tpi).
Once cut, pass a large paring chisel over the sawn surfaces to leave them smooth for coating.
[In Part 1, there was a small photo of a narrow box fitted into the aft beam. This was for two pulleys installed as optional leads for traveller control lines. Before the closing plies are added, the box needs to have the pulleys fitted, but as this is only an option, this will not be part of this article.]
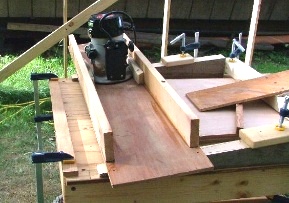
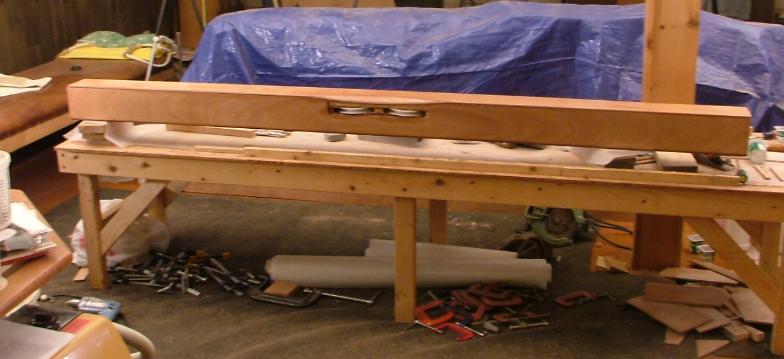
So for the beam itself, the next task is to prepare the outer ends for the cross-ply hinge plates. While one can inlay a piece of 6mm ply, the option used here is some heavy 24oz bias cloth. The small recess required, can be cut with either a grinder, or preferably with a router. If you do this job after the sides are on (as shown here), you'll need to add two limiting bars on the router base, but at least you can use the same router box and cutter as is proposed for scarfing your plywood.

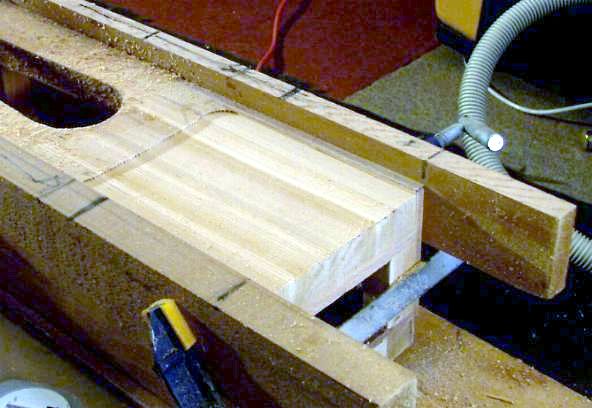
The pics here show how it should look and the neat result the router gives. I suggest to use a depth of 0.04" on the aft beam for one 24oz bias cloth layer, but 0.08" on the fwd beam gives place for two layers. By covering the wet cloth with a sheet of plastic film or wax paper and then laying a piece of 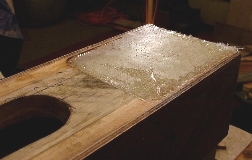 plywood over the end with a weight on it, the glass will cure perfectly flush with the rest of the beam surface. Any part that did not touch the ply, can easily be filled as the final ply is laid on.
Before adding the cloth or hinge plate, make sure all surfaces have 1 prime-coat of clear epoxy.
 If the sides are not already on, then now is the time. Make sure the surfaces have been lightly sanded with a long board and that the panels fit nice and flat on the core framing.
Vacuum and wipe off all dust. I find that applying the thickened resin works best with a short bristle brush but once all covered, I pass a serrated spreader over it (see later).
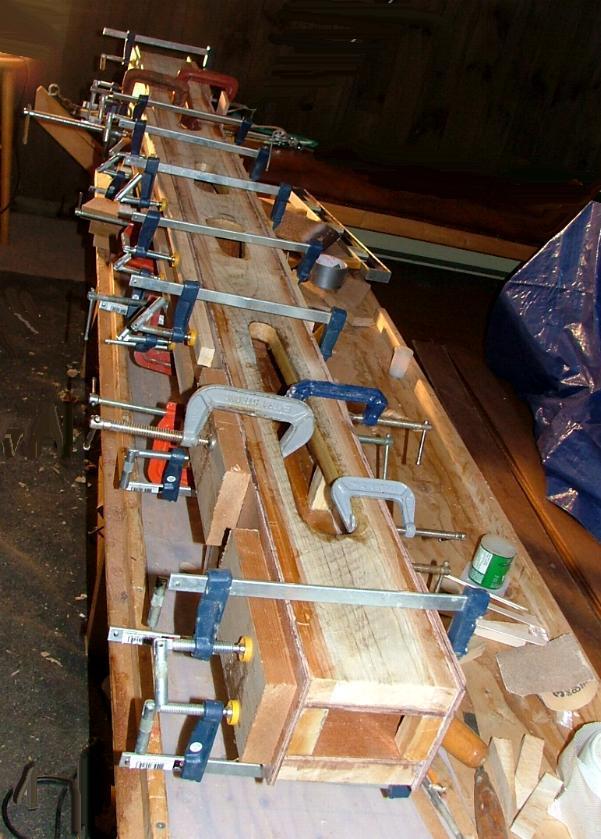
When clamping, use strips and pads to spread the clamp load and tighten just enough to extrude a little of the thickened resin all along the ply edge. Once cured, clean up the edges of the side plywood—initially with a small block plane and finally with a larger one—so that the surface is flat to take the top and bottom plywood.
First though, this plywood needs to be sheathed inside with a UNI cloth of at least 6oz (200g). Try to pull this cloth as much as practical—partly to remove some of its stretch and also to make sure the UNI fibres are as straight as possible. As UNI does not wet through as easily as traditional boat cloth, I would apply resin to pre-primed wood and then lay the cloth in wet. Dabbing the cloth with short vertical strokes of a short bristle brush will help to wet the cloth through, so there are no white or grey areas remaining.
Once cured, sand the surface with a long sanding board and vacuum up all the dust.
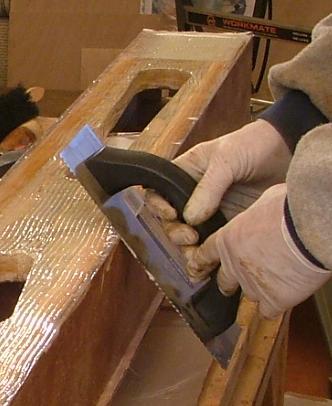
Then mix about 100 g of thickened bonding mix (plenty for both top and bottom), apply with the brush but then even it out by passing a wide serrated spreader as shown here—this one is sold for carpet adhesive, but works well here by using a low angle with the wood in order to not leave the resin too thick. If you then wipe the blade over the sharp ply edge, you can make sure the ply edges are well covered, as their end grain tends to soak up more resin.

If you find the plywood is really floating around, you've probably applied the bonding mix too thick. Although a couple of thin nails will keep the panel in place, passing the serrated spreader again should skim off the excess, and return this to your glue pot. It's always good to think ahead of what parts you may later need so you will not waste this precious resin, and bonding together blocks for the four outer beam ends is one job that will need doing.
Once cured, clean up the long edges and then round them off to a radius of about 6–7 mm. (see Footnote below). Sand with a long sanding block to keep the edge straight. Then install the side dowels as noted on plan W17‑12 to add shear resistance. Finally, vacuum off the surface, wipe off any dust and give a coat of clear resin.
The underside exterior will need one layer of UNI cloth, with bias cloth on the sides. Top and bottom can then be over-sheathed with a light boat cloth, taking the cloth around the edges, to overlap or butt against the bias cloth.
See Manual for latest recommendation on this final sheathing.
 Then grind the ends of the beam flush and square, checking that each end is 1084 mm from the centre of the beam (ie: 1090 mm with the end plug in place).
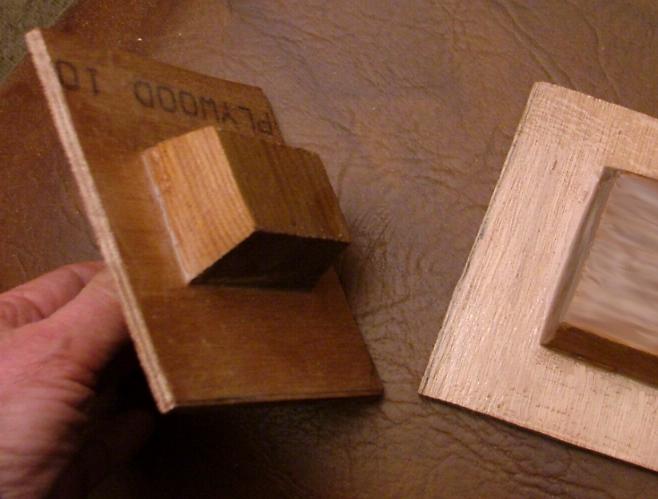
To make the end plugs, cut a 20–25 mm thick piece of cedar to the size of each end opening and then lightly grind a taper on all 4 sides, so that it fits snug into the opening but initially sticks out 2–3 mm. Then bond a piece of 6mm marine ply over the end, that is slightly bigger than the exterior of the beam.
Once cured, grind the central core to just fit into the opening, so that the ply just reaches the end of the box. Then remove and coat with 2 coats of clear epoxy. Once the hinges have been installed, the plug can be sealed in place with silicon, polyurethane adhesive or even thickened epoxy—using just a bead around the outer edge of the plywood end cap so that future removal is still possible if ever needed.
FOOTNOTE: Making a radius corner
Experienced woodworkers will know this, but first-timers may not.
There is temptation to just start rounding off a corner without following any rules or guide, but this will often turn out not so neat or perfect. Here's a guide to getting it right. It will be helpful for ALL long curved edges—even for masts, boom etc of wood.
Check out this sketch.
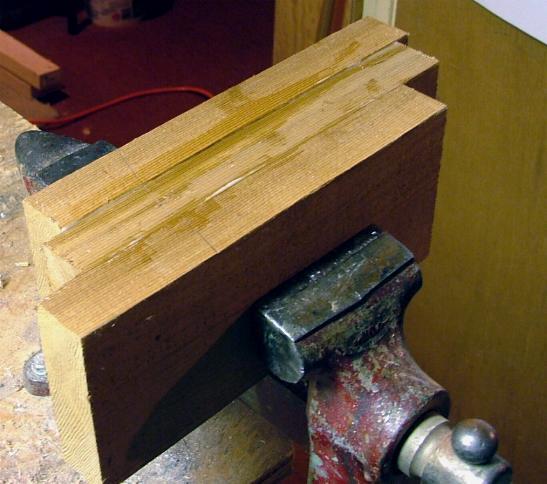
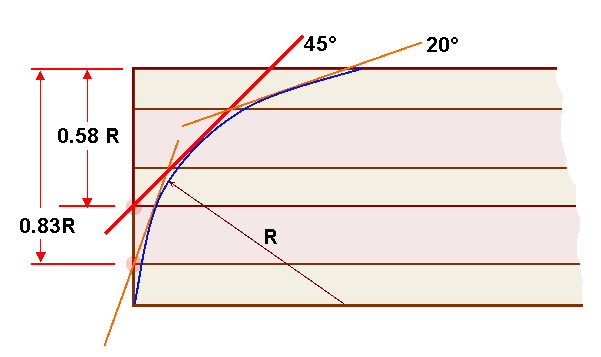 You first need to bevel at ½ the total angle of the final curve. Typically, you're looking to curve an edge (as for these beams) over 90 degrees, so make the first bevel at 45°, and take it down to nearly 60% of what will be the full radius.
Do this FIRST for all edges to be similarly bevelled, so that you get them all looking alike and also straight from one end of the piece to the other. Then you need to roughly ½ that angle again—say 20 degrees in this case. Just a VERY small cut in this case—but equal, each side of the first bevel.
Only after that, should you take a long sanding board to complete the radius—slowly rounding the board over the corner from one face to the other, as you still work lengthwise along the item.
Now, when you're rounding off a plywood edge (as for these beams), you have the help of the veneers to get your radius straight. In the case of 5‑ply shown here, the 58% depth is typically right on a joint—and so is the second 20 deg. pass, so use these natural guidelines to achieve a neat job (see the red circles).
Read more Construction Tips & Techniques.
"New articles, comments and references will be added periodically as new questions are answered and other info comes in relative to this subject, so you're invited to revisit and participate." —webmaster
"See the Copyright Information & Legal Disclaimer page for copyright info and use of ANY part of this text or article"