


Taping Joints Part 1
Although these tips are directly related to the new W17 trimaran, they may also prove useful for those building other plywood boats.
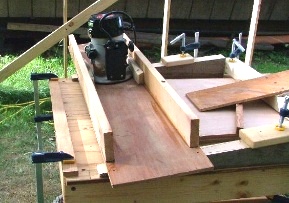
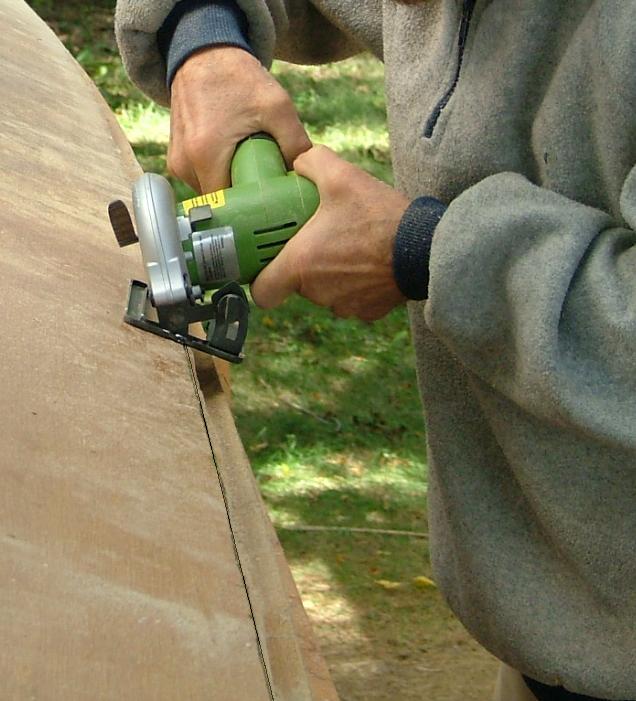 First mark off where the bottom overhangs the side and then trim with a small fine-toothed saw, making sure you are at least 5 mm clear of the side.
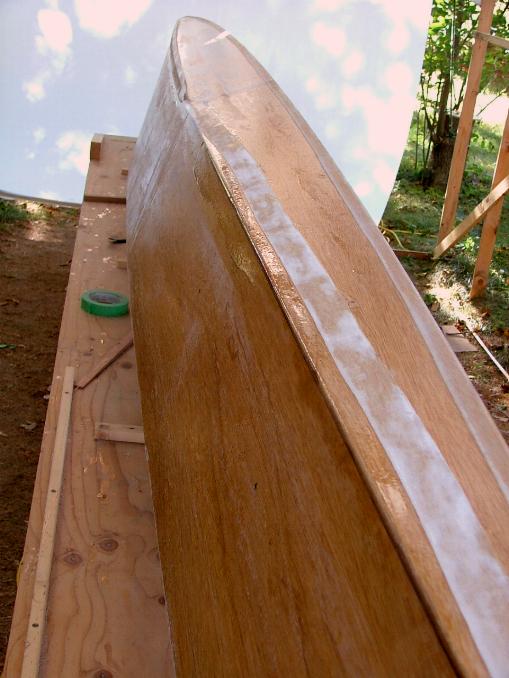
A delicate touch with a grinder and then a plane will bring you almost flush with the side and then finished the last ½ mm with a sanding block before 'rounding off', using the ply thickness as your radius.
For good corner strength, put a small tape on before sheathing. Can be a 6oz 1.5" bi‑axial or bi-directional, with the former laying on easier but harder to find. This is what I do to get a neat installation.
First, mark a line ½ the tape width (¾") down from the joint line.
You will line up the lower edge of the tape along this line.
 Lay the dry tape upside down on the bottom face while you roll epoxy on to the corner, coating about 1" on each panel. If you use 8oz or more for a tape, then I'd recommend to also roll resin on the underside of the tape—it will wet through so much faster.
Then flip the tape over on to the corner being taped. Allow 2‑3" (50‑75 mm) spare (dry) tape at the after end and bend that down over the transom and tape securely. This will enable you to pull on the tape from the forward end to help it lie straight and fair with the chine (corner intersection). Use the roller to impregnate the tape well to bond to the side, carefully following your line.
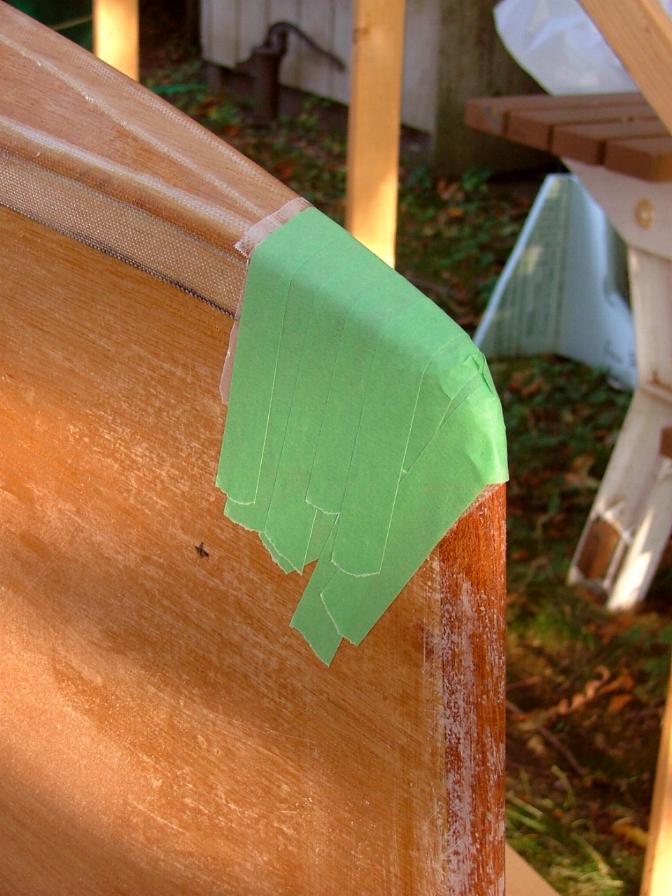
Then starting in the middle of the boat, work towards the bow and stern, rolling the tape up over the chine. If the tape is not too heavy it should lie well over a 4 mm radius. Should it refuse to, or at the bow where there are compound angles, lay strips of wax paper over the chine and slightly tension these with a good length of masking tape over the paper, passing down the sides. (Make sure you first wipe off any dust or the tape will not stick!)
 Once you have taped both chines, sand well with a coarse sanding block. (I make my own using resin-backed 3" wide 50‑100 grade sanding belts of 18‑24" length, as they last MUCH longer than using sandpaper sheets.)
After brushing off, mix some wood flour, micro balloons or silica into epoxy, so that you have a mixture that is about as spreadable as soft margarine and use a straight edge spreader to fill and fair the edge of the tape to the ply. I would suggest fairing over 50‑70 mm from the tape edge on the outside to avoid the tape showing but 30‑50 will be ok on the inside.
Once cured, sand again (always with a flat block) and prepare to sheath the whole exterior surface. See Sheathing Narrow Hulls.
WARNING!
Unless you have crocodile skin, be sure to wear sturdy gloves when hand sanding the edges of cured glass—leather is strongly recommended. While there's almost no risk from handling virgin glass cloth, once the fibres are covered with cured epoxy they become like super-fine needles that will drive deep into your flesh and prick for perhaps a lifetime! I forgot that my skin had softened over the last few years and now have small reminders when I grab something, so that as also a pianist, the music of Philip Glass has now taken on a whole new meaning! Wear gloves if you sand those edges by hand.
Read more Construction Tips & Techniques.
"New articles, comments and references will be added periodically as new questions are answered and other info comes in relative to this subject, so you're invited to revisit and participate." —webmaster
"See the Copyright Information & Legal Disclaimer page for copyright info and use of ANY part of this text or article"